

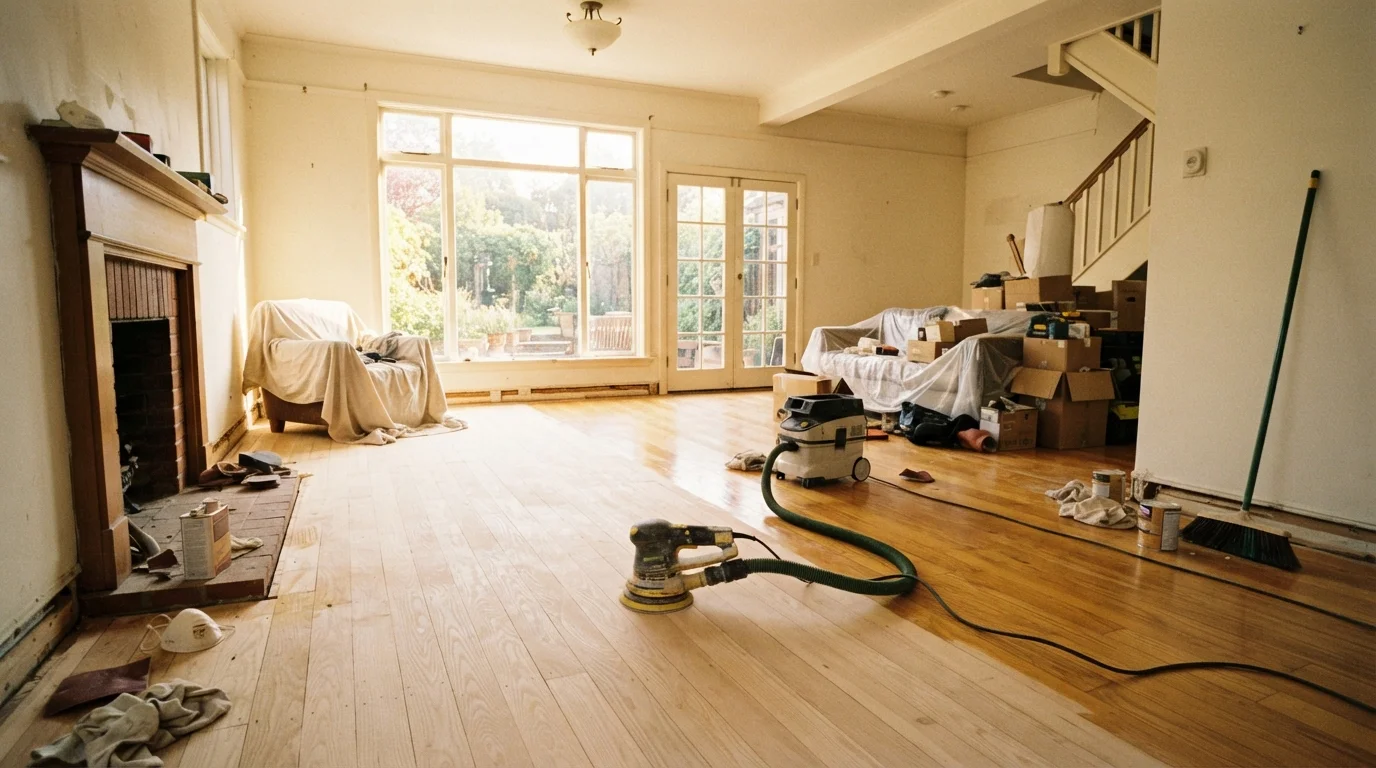
Key Takeaways
- Solid hardwood can typically be sanded and refinished multiple times before boards become too thin.
- Proper sanding-going with the grain in progressively finer grits-determines the final finish quality.
- Staining is optional; sealing with polyurethane is always necessary to protect the wood.
- Ventilation and dust containment are critical safety steps, not optional extras.
- Working room by room keeps your household functional while the project is underway.
Is Your Floor a Candidate for Refinishing?
Before renting a drum sander, assess whether your floors can actually be refinished. Solid hardwood planks-typically ¾ inch thick-can handle multiple sand-and-refinish cycles over their lifetime. Engineered hardwood has a thin veneer layer; depending on thickness, it may support one or two light refinishes at most. Check the manufacturer's documentation if you have engineered floors.
Look for these signs that refinishing makes sense: surface scratches that don't penetrate into the wood body, uneven sheen or worn finish patches, minor cupping or slight discoloration from sunlight. Deep gouges that catch a fingernail, significant warping, soft or spongy spots, or structural damage are different problems-those boards may need replacement rather than refinishing.
Also check for nails or staples sitting above the surface. These must be hammered flush or removed before any sanding machine touches the floor, or they will tear the sandpaper and potentially damage the machine. Before diving in, review our essential DIY preparation guide to understand realistic timelines and what safety gear this kind of project requires.
Tools, Materials, and Safety Prep
For most rooms, you'll need a drum sander (rentable at tool-rental centers) for open field areas, an edge sander for perimeters, and a detail sander or hand scraper for corners. Gather sandpaper in grits 36 or 40 (aggressive cut), 60 (medium), and 80-100 (finishing). For stain and finish, you'll need a natural-bristle brush, a lambswool applicator or foam roller, wood stain if desired, and oil-based or water-based polyurethane.
Flammable Vapors and Fire Risk
Oil-based stains, polyurethane, and mineral spirits are flammable. Keep all ignition sources-pilot lights, sparks, cigarettes-away from the work area and any rooms sharing ventilation. Rags or applicator pads soaked in oil-based products can self-ignite through spontaneous combustion if wadded up and left indoors. Spread used rags flat to dry outdoors, or submerge them in a metal container filled with water before disposal.
Safety gear is non-negotiable: a dual-cartridge respirator rated for organic vapors (not just a dust mask), safety glasses, hearing protection, and knee pads. Sanding generates both fine wood dust-a lung irritant-and with oil-based finishes, flammable vapors.
Dust containment starts before you turn on a machine. Seal HVAC vents with plastic sheeting and painter's tape to prevent fine dust from circulating through your home. Plastic sheeting over doorways helps confine dust to the work area. Open windows on opposite ends of the room to create cross-ventilation when applying any finish product.
Sanding: The Foundation of a Good Finish
Sanding is where refinishing is won or lost. Start with the coarsest grit appropriate for your floor's condition-36-grit for heavily worn or previously painted surfaces, 60-grit for floors in moderate shape. Always sand with the grain of the wood, never across it. Moving a drum sander perpendicular to the grain leaves visible cross-grain scratches that no finish will hide.
Keep the drum sander moving at all times when the drum is in contact with the floor. Pausing even briefly burns a visible depression into the wood. Work in overlapping passes, moving steadily from one end of the room to the other. After the main field is done, switch to the edge sander for the perimeter, feathering your passes so edge work blends into field work.
Always do a 'scratch test' before renting equipment: drag a coin firmly across a worn area. If you see bare wood rather than just scratched finish, the floor is definitely ready for refinishing-not just a recoat.
This quick test helps homeowners distinguish surface finish wear from actual wood damage, avoiding the common mistake of over-sanding floors that only needed a fresh topcoat.
Progress through sandpaper grits in sequence without skipping. Going from 40-grit directly to 100-grit leaves deep scratches that the fine grit can't remove and the finish will reveal.
Each grit is designed to erase the scratches left by the previous, coarser grit. Skipping grits is the most common cause of visible sanding marks in DIY refinishes.
Progress through grits in sequence-skipping a grit doesn't save time; it leaves deeper scratches that show through the final coat. After each grit, sweep and vacuum thoroughly before moving to the next. Finish with 80- or 100-grit for a smooth surface that accepts stain evenly. Vacuum again, then wipe the entire floor with a tack cloth to lift any remaining fine dust before staining or sealing.
Staining and Sealing Room by Room
Staining is entirely optional-bare sanded wood sealed with clear polyurethane looks beautiful and lets the natural grain speak. If you do stain, test your chosen color on an inconspicuous area or a scrap piece first; stain colors on the can look very different from the dried result on your specific species of wood.
Apply stain with a rag or applicator pad, working with the grain and wiping off excess within the manufacturer's recommended time window (usually 5-10 minutes). Allow full drying per label instructions before applying sealer. Rushing this step traps stain under the finish and causes adhesion problems.
For the topcoat, water-based polyurethane dries faster and has lower odor; oil-based polyurethane is more durable and imparts a warmer amber tone. Apply thin coats-thick coats bubble and take longer to cure. Lightly sand with 220-grit between coats to improve adhesion, then vacuum and tack-cloth again before the next coat. Most floors benefit from three coats total. This approach is similar in principle to the surface prep and sealing steps covered in our deck staining and sealing guide.
Working room by room keeps your household livable. Finish the bedroom first, then a hallway, then the living area. Each room can be closed off and cured while you shift to the next space.
Drying, Curing, and Getting Back to Normal
Dry time and cure time are not the same thing. Water-based polyurethane is typically dry to light foot traffic in 2-4 hours, but the finish doesn't reach full hardness for 7-14 days. Oil-based finishes take longer to dry-often 8-24 hours between coats-but the curing window is similar. During the curing period, avoid dragging furniture, placing rugs with rubber backing, or wearing high heels on the floor. Rubber backings trap moisture and can permanently discolor a curing finish.
When reintroducing furniture, attach felt pads to all legs. Avoid wet-mopping for at least two weeks. For long-term care, sweep or vacuum regularly, use a lightly dampened mop only, and address spills immediately. A well-sealed hardwood floor can look great for years before needing a maintenance coat-a far more affordable option than a full sand-and-refinish cycle.
Refinishing is one of the more rewarding DIY projects a homeowner can take on. For more ways to upgrade your home's look on a budget, see our collection of small DIY upgrades with big impact. And if you're building systematic maintenance habits, our home maintenance guide for first-time owners is a useful next read.