

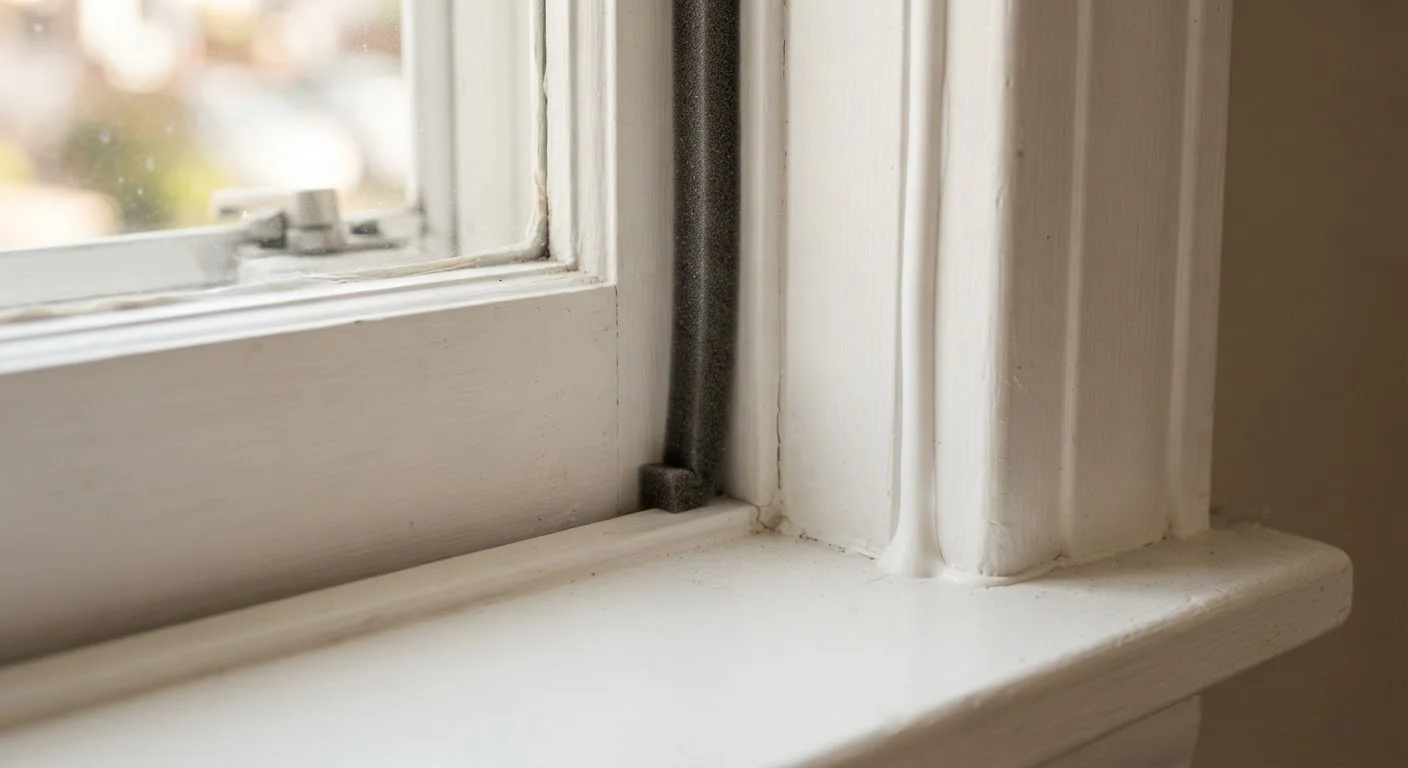
Key Takeaways
- Caulk is for static, non-moving joints; weatherstripping is for movable parts like door edges and window sashes.
- Using caulk where weatherstripping belongs will crack quickly and fail, wasting your time and materials.
- Most homes need both products applied in different locations for complete draft and moisture control.
- Silicone-based caulks resist moisture best; foam, rubber, or felt weatherstripping suits different door gap sizes.
- Proper application of both materials can noticeably reduce drafts and help maintain indoor temperatures.
Option A
Caulking
The permanent, rigid gap-filler for stationary surfaces.
Best for: Sealing fixed cracks and gaps where surfaces don't move, such as around window frames, door casings, and baseboards.
Option B
Weatherstripping
The flexible, compressible seal for moving parts.
Best for: Creating an airtight seal along the edges of doors and operable windows that open and close repeatedly.
If you're sealing a crack between a window frame and exterior siding
Caulking
This joint is static and exposed to weather. Caulk bonds permanently to both surfaces, blocking water and air from entering the wall cavity.
If your entry door lets in cold air around its edges when closed
Weatherstripping
The door moves every time it opens and closes, so a flexible, compressible seal along the door stop or jamb is required. Rigid caulk would crack almost immediately.
If you want to seal a gap between an interior baseboard and the floor
Caulking
Baseboards don't move, so a paintable latex caulk gives a clean, permanent finish that also blocks conditioned air from escaping under the trim.
If a casement or double-hung window rattles and passes air when latched
Weatherstripping
The sash moves when you open or close the window, so adhesive foam or V-strip weatherstripping along the sash channel compresses to form a seal without cracking.
Why Choosing the Wrong One Matters
Caulking and weatherstripping solve the same broad problem - unwanted air and moisture passing through gaps in your home's envelope - but they work through completely different mechanisms. Using the wrong material in the wrong place doesn't just fail quickly; it can actually make the underlying problem harder to fix by leaving adhesive residue, trapping moisture, or masking a gap that needs a different solution.
As a rough rule: if the surfaces on both sides of the gap never move relative to each other, caulk is almost always correct. If one surface moves - a door, an operable window sash, an access panel - you need weatherstripping. Mixing these up is one of the most common and easily avoided DIY mistakes homeowners make. For a broader look at prepping your home before cold weather, see our guide on weatherproofing your home before winter sets in.
| Criterion | Caulking | Weatherstripping |
|---|---|---|
| Best for | Static, non-moving joints | Moving parts (doors, operable windows) |
| Typical locations | Window frames, baseboards, siding joints | Door jambs, door bottoms, window sashes |
| Material flexibility | Rigid once cured | Stays flexible; compresses and rebounds |
| Lifespan | 5-20 years depending on product and exposure | 1-10 years depending on type and use frequency |
| DIY difficulty | Low - gun, smooth, let cure | Low to moderate - measure, cut, press or screw in place |
| Paintable | Yes (latex types); no (pure silicone) | Generally no |
| Fails when used incorrectly | Cracks if applied to moving joint | Tears or flattens if joint is static and oversized |
Where Caulk Belongs - and What Kind to Use
Caulk is a flexible-when-wet, rigid-when-cured sealant that adheres to two stationary surfaces simultaneously. Common application points include:
- Around window and door frames where the casing meets the siding or interior drywall
- Along baseboards where trim meets the floor or wall
- At the joint between the sill plate and foundation in basements and crawl spaces
- Around plumbing penetrations through walls and floors
For exterior use, silicone or siliconized latex caulk resists UV exposure and moisture best. Paintable latex caulk works well for interior trim gaps where you'll want to match the wall color. Avoid applying caulk in gaps wider than about half an inch without using a foam backer rod first - otherwise the caulk will shrink and crack as it cures.
Good caulk application also plays a supporting role in moisture management. If water is finding a path inside through wall gaps, no amount of interior ventilation fully compensates - see our article on how proper ventilation protects your home for complementary strategies.
~30%
Heating and cooling energy lost through air leaks
The U.S. Department of Energy estimates that air leaks account for roughly 25-30% of heating and cooling energy use in a typical home.
$200-$600
Estimated annual energy savings from sealing leaks
ENERGY STAR guidance suggests that properly sealing and insulating can save homeowners a meaningful portion of their utility bills, though results vary by home size and climate.
Where Weatherstripping Belongs - and What Type to Choose
Weatherstripping creates a compressible barrier that forms a tight seal when a door or window closes, then releases cleanly when it opens. The material must flex hundreds or thousands of times without tearing or losing its shape. Common types and their uses:
- Adhesive-backed foam tape: Easiest to install; works on door stops and window sash channels where compression is light. Tends to degrade faster than other types.
- V-strip (tension seal): A folded plastic or metal strip that springs open to fill the gap. Durable choice for the sides of double-hung windows and along door jambs.
- Door sweeps: Mounted to the bottom of a door, these seal the gap between the door and threshold - a major source of drafts and insect entry.
- Bulb or tubular gaskets: Rubber or vinyl profiles that compress fully when the door closes. Often found on the door stop (the thin strip the door contacts on the jamb).
Before installing any weatherstripping, clean the surface thoroughly and let it dry completely. Adhesion fails quickly on dusty, oily, or damp surfaces. Check the door's alignment first - a door that doesn't close squarely will leave uneven gaps no weatherstripping can fully correct. For related exterior maintenance, our guide on patching, painting, and protecting exterior walls covers how to address the wall surfaces around your door and window openings.
A Quick Test: How to Diagnose Which You Need
Not sure which problem you're looking at? Try this simple diagnostic before buying materials:
- Hold a lit incense stick or thin piece of tissue near the gap on a windy day. Movement indicates airflow.
- Identify whether any surface in the gap moves. Open and close the door or window. If the gap is part of the moving joint, you need weatherstripping.
- Look for cracked or missing material. Hardened, crumbly residue is almost always old caulk. Torn, flattened, or missing foam along a door stop is old weatherstripping.
- Check for moisture staining. Water marks along a fixed window frame joint suggest failed caulk; moisture around a threshold often points to a gap in the door sweep.
In most homes, a thorough gap-sealing project involves both materials in different locations. Caulk the static frame joints; weatherstrip the movable parts. This combined approach addresses the full perimeter of windows and doors systematically. You can learn more about the nuances of each material in our companion piece: Caulk vs. Weatherstripping: Choosing the Right Draft-Stopper.
When to Call a Professional
Most caulking and weatherstripping is well within DIY range, but some gaps are symptoms of larger problems. A door that has shifted significantly out of square, large cracks in masonry or the foundation, or gaps where structural settling is visible warrant a professional inspection before you seal anything. Caulking over a structural crack can hide ongoing movement and delay a repair that only gets more expensive over time.