

Key Takeaways
- Planning your tile layout before mixing any adhesive prevents awkward cuts and wasted material.
- Using the correct thinset mortar and notched trowel size ensures tiles bond securely and stay flat.
- Grout must be sealed after curing to protect moisture and staining in kitchen and bathroom environments.
- Allowing adequate drying time between adhesive, grout, and sealer stages is critical for a lasting result.
- A backsplash installation is a realistic weekend DIY project that can meaningfully reduce labor costs.
What you will need
What You Need Before You Start
Installing a backsplash is one of the more accessible tile projects a homeowner can tackle - but a little preparation goes a long way toward avoiding costly mistakes. Before reading through the steps below, take a moment to review what every homeowner should know before starting a DIY project, especially the sections on realistic timelines and surface prep.
Gather your materials and clear the work area completely. Remove outlet and switch covers, cover your countertop with a drop cloth, and turn off the power to any outlets in the tiling zone at the breaker panel before beginning.
What you will need
Notched trowel (1/4" x 1/4" V-notch or square-notch)
Spreads thinset mortar in uniform ridges for consistent tile adhesion.
Tile wet saw
Makes clean, straight cuts on ceramic, porcelain, and glass tile.
Rubber float
Presses grout into tile joints without scratching the tile surface.
Tile spacers
Maintains consistent grout joint width between tiles during installation.
Drill with mixing paddle
Mixes thinset mortar and grout to a smooth, lump-free consistency.
Level (24-inch or longer)
Ensures tile rows remain straight and even across the wall.
Tile nipper or angle grinder
Removes small amounts of tile material for outlet box and irregular cutouts.
Grout sealer with applicator
Seals cured grout lines to resist moisture, grease, and staining.
Planning Your Layout
Good tile layout is the difference between a professional-looking result and one that shows awkward slivers of cut tile at prominent edges. Start by finding the horizontal center of the wall area you're tiling - measure from edge to edge and mark the midpoint. Use a level to draw a faint vertical pencil line at that center point from countertop to upper tile boundary.
Do a dry run: lay tiles along your countertop edge from the center line outward in both directions, using spacers to simulate grout joints. If the last tile at either end would be less than half a tile wide, shift your center line by half a tile so the end cuts are more visually balanced. Mark your layout lines clearly - this is your road map for the entire installation.
If unfamiliar with terms like field tile, grout joint, or back-butter, the plain-language DIY glossary is a useful reference to keep open while you work.
Prepare the Wall Surface
The wall behind a backsplash must be clean, dry, and structurally sound. Wipe down the surface with a degreaser, especially above a stovetop. Scrape away any loose paint or old adhesive. If the drywall is damaged or the area is behind a sink where moisture is frequent, consider installing a cement backer board before tiling - standard drywall can absorb moisture and cause tiles to de-bond over time.
Mix and Apply the Thinset Adhesive
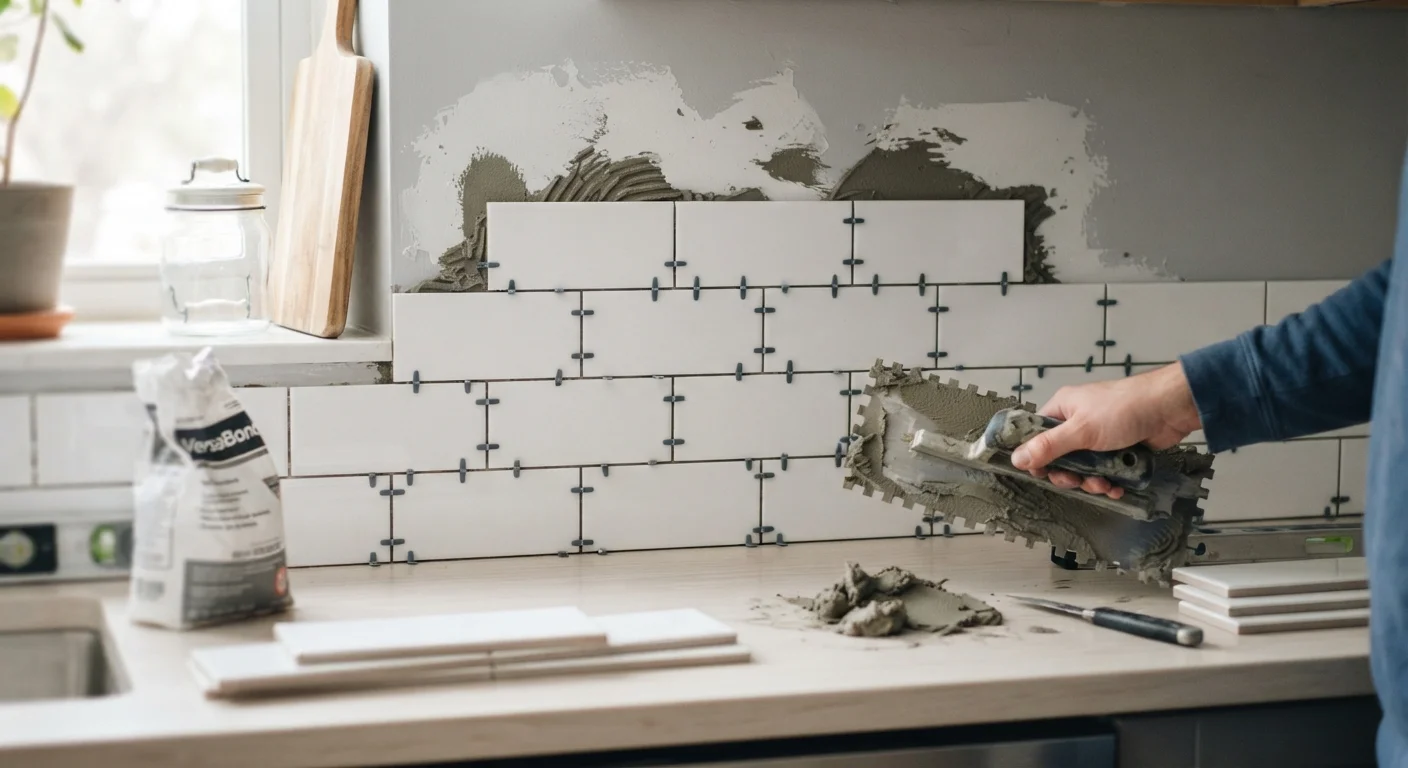
Mix your thinset mortar in a bucket using a drill with a mixing paddle attachment, adding water gradually until the consistency resembles thick peanut butter. Let it slake (rest) for about 10 minutes, then give it a final stir before use. Using your notched trowel, spread thinset onto the wall along your layout lines - work in manageable two- to three-square-foot sections so it doesn't skin over before tiles are placed. Hold the trowel at a consistent 45-degree angle to create uniform ridges, which help tiles bond evenly.
Set the Tiles
Press each tile firmly onto the thinset with a slight twisting motion to collapse the ridges and ensure full contact. Start at your center layout line and work outward. Place tile spacers at each corner to maintain consistent grout joint width. Periodically pull a tile free and check that the back is covered at least 80% with thinset - more is better near wet areas. Use a level every few tiles to confirm your rows stay straight and flat.
Cut Border and Outlet Tiles
Cuts at edges, corners, and around outlet boxes require a tile wet saw or a manual tile cutter for straight cuts. A tile wet saw gives cleaner results on ceramic and porcelain and is widely available to rent. Measure each cut tile individually - walls are rarely perfectly square, so don't assume two end tiles are the same size. For outlet cutouts, mark the opening on the tile face with a pencil, then use a tile nipper or an angle grinder with a diamond blade to remove material in small increments.
Grout the Joints
After the thinset has cured fully (typically 24 hours), remove all spacers. Mix grout to a smooth, lump-free consistency and apply it with a rubber float in diagonal sweeping strokes, pressing firmly into every joint. Work in manageable sections. Once a section is filled, wipe away the excess with a barely damp sponge, using circular strokes. Rinse the sponge in clean water frequently - dirty water leaves a film. Allow a haze to develop on the tile surface, then buff it off with a clean dry cloth.
Seal and Cure
Once the grout has cured for the full time listed on its packaging (typically 48-72 hours), apply a penetrating grout sealer with a small foam applicator brush or applicator bottle. Work it into the grout lines, let it penetrate for the dwell time specified, then wipe away any excess from the tile face before it dries. A properly sealed grout surface repels water and resists staining from cooking grease and soap residue.
Grouting, Sealing, and Finishing Up
Once the adhesive has fully cured - typically 24 hours, but check the product instructions - you can remove the tile spacers and move on to grouting. Choose sanded grout for joints wider than 1/8 inch and unsanded grout for narrower joints. Mix the grout to a peanut-butter consistency, following the manufacturer's ratio of water to powder.
Apply grout with a rubber float held at a 45-degree angle, pressing it firmly into the joints in diagonal strokes. Work in sections of about four to six square feet so the grout doesn't dry before you can clean it. Wipe away the excess with a damp (not wet) sponge in circular motions, rinsing the sponge frequently. Allow a light haze to form, then buff it off with a dry cloth.
After the grout has cured for the time specified on its packaging (usually 48-72 hours), apply a penetrating grout sealer. This step is often skipped but is especially important near a stove or sink where grease and moisture can stain unsecured grout quickly. Resealing once a year is a low-effort habit covered in small DIY upgrades that make a noticeable difference.
Don't Rush the Curing Stages
Skipping or shortening the curing time between adhesive and grout - or between grout and sealer - is the most common cause of backsplash failure. Thinset that hasn't fully cured can shift when pressure is applied during grouting, cracking the bond. Always follow the manufacturer's stated cure time, and factor in that humid conditions can extend drying times noticeably.
Reinstall your outlet and switch covers last, after everything is fully dry and cured. Step back, restore power at the breaker, and enjoy the result.