

Key Takeaways
- Small holes under half an inch can be filled with spackling compound alone, with no backing needed.
- Holes between one and six inches require a patch with physical backing for a lasting, stable repair.
- Joint compound must dry fully between coats - rushing this step is the most common cause of visible repairs.
- Feathering compound outward and sanding carefully are what make patches invisible after painting.
- Matching existing wall texture before painting is essential for a seamless final appearance.
What you will need
Understanding What You're Working With
Drywall - also called gypsum board or wallboard - is made of a plaster core sandwiched between two layers of paper. That structure matters for repairs: small surface damage calls for a different approach than damage that breaks through to the hollow wall cavity behind it.
Before you start, categorize the damage:
- Nail pops and small dents (under ½ inch): Surface-only; no backing needed.
- Medium holes (½ inch to 4 inches): The paper face may be damaged; requires a patch kit or backing strip.
- Large holes (4-6+ inches): Need a rigid backer and a cut drywall piece for a durable fix.
Understanding the repair type before buying materials prevents wasted trips and wrong products. Check out our guide on repairs homeowners often get wrong the first time - drywall is near the top of that list for good reason.
What you will need
Tools and Materials You'll Need
Gathering everything before you start saves significant time. Drywall repair involves multiple coats with drying time between each, so interruptions cost you an extra day.
Spackling compound or joint compound
Fills the hole or damaged area; spackling is best for small repairs, joint compound for larger patches and feathering.
Putty knife or drywall knife (4-6 inch)
Applies and smooths compound over the repair area.
Sanding sponge or 120-220 grit sandpaper
Smooths dried compound between coats and before priming.
Self-adhesive mesh patch or backing strips
Provides a surface for compound to bond to on medium-sized holes.
Primer
Seals the repaired area so paint absorbs evenly and doesn't show the patch.
Drywall saw
Cuts clean edges around large holes and trims patch pieces to size.
Corner bead or texture spray
Restores damaged corners or matches existing wall texture after patching.
For larger holes, you'll also need a drywall saw, scrap drywall, and 1×3 wood strips or a commercial backer board to create a rigid surface for the patch to attach to.
Step-by-Step Repair Instructions
Work through these steps methodically. The quality of your finish depends far more on patience during drying and sanding than on any special skill.
Clean and Prepare the Damaged Area
Remove any loose paper, crumbling gypsum, or protruding fasteners around the damage. For nail pops, drive the nail slightly deeper with a hammer, then drive a new drywall screw 2 inches above and below the pop to anchor the panel. For holes, trim away any jagged or soft edges with a utility knife so you're working with a clean border.
Choose and Install Your Backing (for Holes Over ½ Inch)
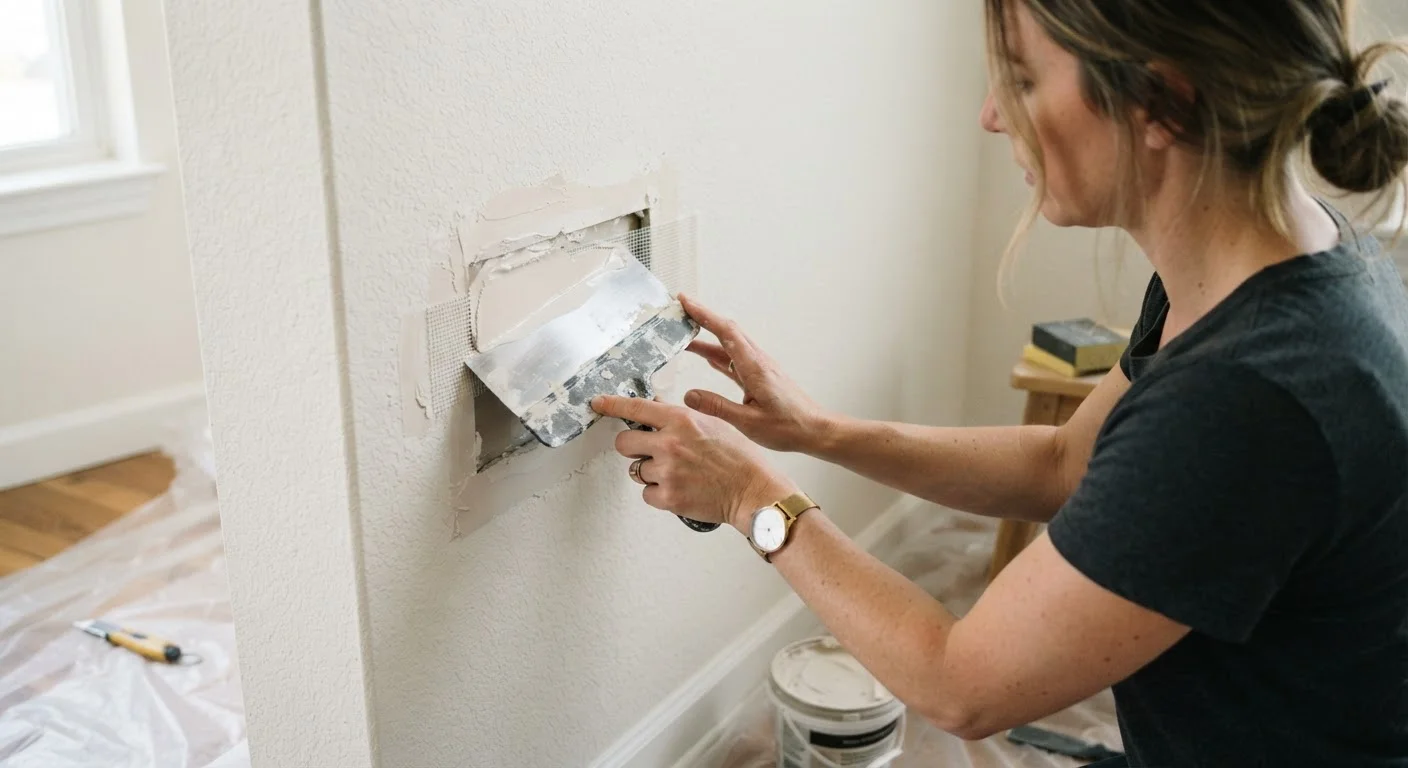
For holes between ½ inch and 4 inches, press a self-adhesive mesh patch over the opening so it overlaps all edges by at least an inch. For larger holes, cut the opening into a clean rectangle, then slide 1×3 wood backing strips through the hole and screw them to the existing drywall from the front. Cut a drywall patch to fit the opening and screw it to the backing strips.
Apply the First Coat of Compound
Using your putty knife, spread a thin, even coat of joint compound over the patch and mesh, extending 2-3 inches beyond the repair edges. Press firmly to fill the mesh openings completely. For nail holes and dents, apply a thin coat of spackling compound, slightly overfilling the depression. Scrape the surface as flat as possible - excess compound means more sanding later.
Let It Dry Completely, Then Sand
Allow the first coat to dry fully - typically 4-8 hours depending on humidity and coat thickness. The compound will turn uniformly white when dry; any gray or dark areas mean it's still wet. Once dry, sand lightly with 120-grit sandpaper or a damp sanding sponge to remove ridges and high spots. Wipe away all dust with a slightly damp cloth.
Apply a Second (and Third) Coat, Feathering the Edges
Apply a second coat slightly wider than the first, using the knife at a low angle to feather - or blend - the edges outward so the transition from repair to wall is gradual. For larger patches, a third coat is typically needed. Each coat should be thinner than the last. The goal is a nearly imperceptible transition, not a perfectly flat blob of compound.
Final Sand, Prime, and Match Texture
After the final coat is fully dry, sand the entire repair area with 220-grit paper until it feels flush with the surrounding wall. Run your hand across it - you shouldn't feel any edge or bump. If the existing wall has texture (orange peel, knockdown, or similar), apply a matching texture spray or technique before priming. Then apply a coat of drywall primer to seal the compound before painting.
Once the repair is primed and painted, the results should be indistinguishable from the original wall. For the painting phase, our article on why DIY paint jobs go wrong explains how to avoid the most common finishing errors that make repairs visible.
Drywall repair is genuinely one of the more approachable home skills. With a little practice, you'll be able to handle everything from nail holes to doorknob damage - no contractor needed. For a related perspective on deciding when to DIY versus hire out, see our guide on when to call a plumber vs. DIY.