

Key Takeaways
- Sealing drafts around doors and windows is one of the most cost-effective ways to reduce heating costs.
- Pipe insulation is inexpensive and prevents the far costlier problem of frozen or burst pipes.
- A furnace filter swap and thermostat check can meaningfully improve heating efficiency before cold arrives.
- Checking attic insulation and ventilation helps prevent ice dams and hidden moisture damage.
- Most weatherproofing tasks require only basic tools and a few hours of focused work.
What you will need
Why Fall Weatherproofing Pays Off
Heating a leaky home is like running water into a bucket with holes - you keep spending energy without retaining the benefit. The US Department of Energy has noted that drafts and inadequate insulation are among the most common sources of residential energy waste. Addressing them before temperatures drop protects both your budget and your home's structure.
The good news: most weatherproofing tasks fall squarely in DIY territory. You don't need a contractor for caulking windows, wrapping exposed pipes, or swapping a furnace filter. For tasks that go deeper - such as gas furnace repairs, electrical work, or structural insulation in finished walls - always consult a licensed professional. This guide focuses on the accessible jobs that deliver real results. For a broader view of how this fits your year-round routine, see the seasonal home maintenance calendar for homeowners.
What you will need
Tools and Materials You'll Need
Gather these before you start so you aren't stopping mid-task. Most items are available at any hardware store for modest cost.
Caulk gun and paintable/silicone caulk
Seals gaps around window frames, door frames, and exterior penetrations where air infiltrates.
Foam weatherstripping tape
Compresses to fill gaps along door and window edges where the frame meets the sash or stop.
Door sweep or door shoe
Seals the gap at the bottom of exterior doors to block cold air and drafts at floor level.
Pipe insulation foam sleeves
Wraps exposed pipes in unheated spaces to reduce the risk of freezing in cold weather.
Furnace filter (correct size for your unit)
Replaces the existing filter to maintain airflow and heating efficiency through the season.
Programmable or smart thermostat
Allows scheduled temperature setbacks at night or when away, reducing heating costs without sacrificing comfort.
Flashlight or headlamp
Helps you inspect attic insulation, crawl spaces, and dark utility areas safely.
Step-by-Step Weatherproofing Tasks
Work through these steps in order - starting with air sealing, then moving to pipes and your heating system. Tackle outdoor items while temperatures are still workable, since many sealants won't cure properly in freezing conditions.
Inspect and seal doors and windows
On a windy day, hold your hand near door frames, window edges, and any wall penetrations (pipes, wires, dryer vents). Feel for cold air movement. Even small gaps let in significant cold air over a season.
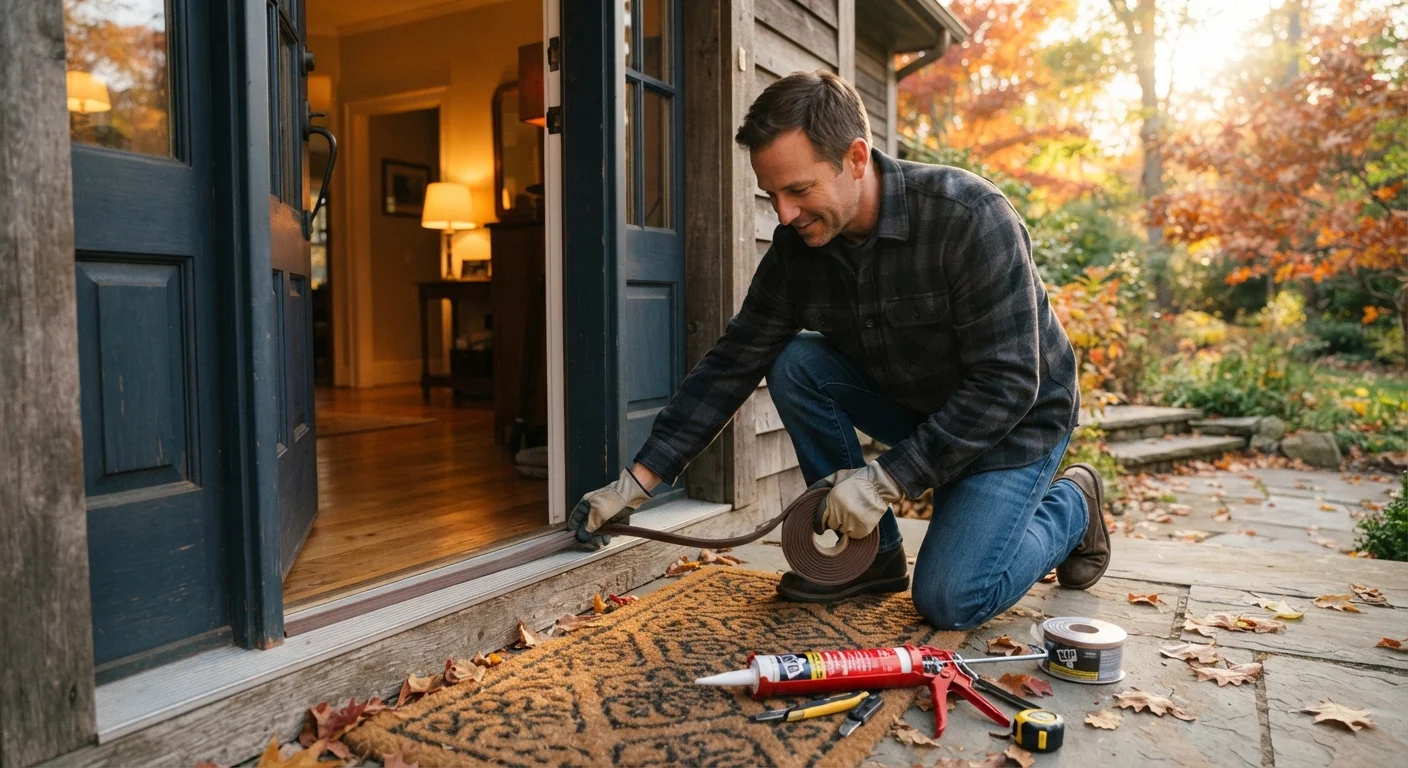
- Apply a bead of caulk along the exterior side of window and door frames where the frame meets the siding. Cut away old, cracked caulk first with a utility knife.
- Replace worn weatherstripping along door stops - the foam or rubber strip the door closes against. It should compress slightly when the door shuts.
- Install or adjust a door sweep on exterior doors so it just grazes the threshold without dragging.
Insulate exposed pipes in unheated areas
Pipes in garages, crawl spaces, unfinished basements, and exterior walls are vulnerable to freezing. A burst pipe can cause thousands of dollars in water damage.
- Measure the diameter of your pipes before buying foam sleeve insulation - common sizes are 1/2 inch and 3/4 inch.
- Slit the sleeve lengthwise (most come pre-slit), press it around the pipe, and seal the seam with manufacturer-recommended tape.
- Pay special attention to pipes that run along exterior walls or in unheated spaces like a garage.
Service your heating system
Your furnace or heat pump has been idle for months. Before you need it in earnest, give it a basic check.
- Replace the furnace filter - a clogged filter strains the blower motor and reduces heat output. Check the filter size printed on the frame of the existing one.
- Clear at least two feet of space around the furnace and water heater - nothing stored against them.
- Test your thermostat by setting it to heat mode and raising the target temperature. Listen for the furnace to start within a minute or two.
- Check that all vents and registers throughout the house are open and unobstructed by furniture or rugs.
Clean gutters and check downspout drainage
Clogged gutters trap water that freezes, expands, and can work under your roof shingles. They also cause ice dams - ridges of ice that block meltwater from draining properly.
- Remove leaves and debris from gutters by hand or with a gutter scoop. Flush with a garden hose to check flow.
- Confirm downspouts direct water at least three to four feet away from the foundation. Add extensions if needed.
- Look for gutters that sag or pull away from the fascia board - these need to be reattached so water doesn't pool or overflow against the house.
Check attic insulation and seal interior air leaks
Heat rises, and a poorly insulated attic floor lets it escape directly through your roof. Use a flashlight to inspect your attic insulation level - it should fully cover the tops of the floor joists and ideally exceed them by several inches, depending on your climate zone.
- Look for gaps or thin spots and add batt or blown-in insulation where needed. This is a task many homeowners can do themselves with rented equipment for blown-in material.
- Before adding insulation, seal any visible gaps where pipes, wires, or ducts penetrate the ceiling below using fire-rated caulk or foam - these are major air-leak paths.
- Check that attic vents (soffit and ridge) are not blocked by insulation; airflow must continue for moisture control.
Know When to Call a Professional
Tasks involving gas line connections, electrical panel work, or structural changes to walls and roofs require licensed contractors - and in most jurisdictions, permits. If you discover mold in the attic or crawl space, cracked heat exchangers in the furnace, or significant water damage, stop and consult a qualified professional. Attempting these repairs yourself can create safety hazards and may void insurance coverage.
If your home has older exterior walls with little or no insulation, that's a bigger project worth planning separately. The guide to home maintenance on a tight budget can help you decide where to focus limited funds.
Don't Overlook Attic Ventilation and Moisture
One of the most overlooked winter prep tasks is checking your attic. Inadequate insulation allows heat to escape through the roof deck, which can cause snow to melt unevenly and refreeze as ice dams along the eaves - a leading cause of winter roof leaks. Aim for insulation levels appropriate to your climate zone; the Department of Energy publishes zone-specific recommendations you can look up by ZIP code.
Proper attic airflow also matters year-round. Without it, warm moist air from living spaces condenses in the attic and drives mold growth and wood rot. Our article on keeping moisture out through proper ventilation explains how attic, bathroom, and crawl space airflow work together. While you're doing outdoor prep, it's also a good moment to wrap up garden tasks - the fall garden closedown checklist walks through protecting plants and outdoor structures before the first frost.