

Key Takeaways
- Short, calm grooming sessions - especially from kittenhood - build lasting tolerance in cats.
- Brushing, nail trimming, and ear cleaning are the three core home grooming tasks for most cats.
- Reading your cat's body language helps you stop before stress escalates to scratching or biting.
- Most cats need nail trims every 2-4 weeks and ear checks monthly.
- Treats and positive reinforcement make each session easier than the last.
What you will need
Why Home Grooming Is Worth the Effort
Cats are famously self-sufficient groomers, but that self-sufficiency has real limits. Long coats mat without help, nails that go untrimmed can snag on fabric or curve into paw pads, and ear buildup can develop into discomfort or infection. Regular home grooming lets you catch small problems before they become vet visits - and it deepens the bond between you and your cat.
If you've wondered whether professional grooming might be a better fit, our article comparing DIY and professional grooming walks through the trade-offs honestly. For most healthy adult cats, though, basic home maintenance is entirely manageable once you have a consistent approach.
Grooming needs also shift across a cat's life. Kittens benefit from early handling so grooming feels normal, while senior cats may need more frequent brushing as they become less flexible. Our guide on what cats need at every life stage covers how to adjust your care as your cat ages.
Make Grooming Part of a Routine
Cats thrive on predictability. Scheduling grooming at the same time of day - ideally when your cat is naturally drowsy after a meal - reduces resistance over time. Pair each session with a favorite treat or a few minutes of play to build a positive association.
What You'll Need Before You Start
Having the right tools ready before you bring your cat into the room makes the whole experience smoother. Fumbling for clippers mid-session is a quick way to lose your cat's cooperation.
What you will need
Slicker brush or grooming comb
Removes loose fur, detangles, and distributes natural oils through the coat.
Cat nail clippers
Safely trims the sharp tips of claws to reduce scratching damage and snags.
Styptic powder
Stops minor bleeding quickly if a nail tip is accidentally cut too short.
Ear cleaning solution
Loosens wax and debris in the outer ear during routine ear checks.
Cotton balls or gauze
Gently wipes away loosened debris from the outer ear without probing deep.
High-value treats
Reinforces calm behavior during and after each grooming task.
If your cat is new to your home, give them at least a week or two to settle before introducing grooming. A cat that already feels secure is far easier to work with - the guidance in bringing your first cat home can help you lay that groundwork well.
Know When to Call Your Vet
Home grooming is general maintenance - it is not a substitute for veterinary care. If you notice redness, discharge, odor, lumps, hair loss, or skin irritation during grooming, contact your veterinarian. Never attempt to clean inside the ear canal or clip claws that are deeply embedded in the paw pad.
Step-by-Step: The Grooming Session
Set the stage for a calm session
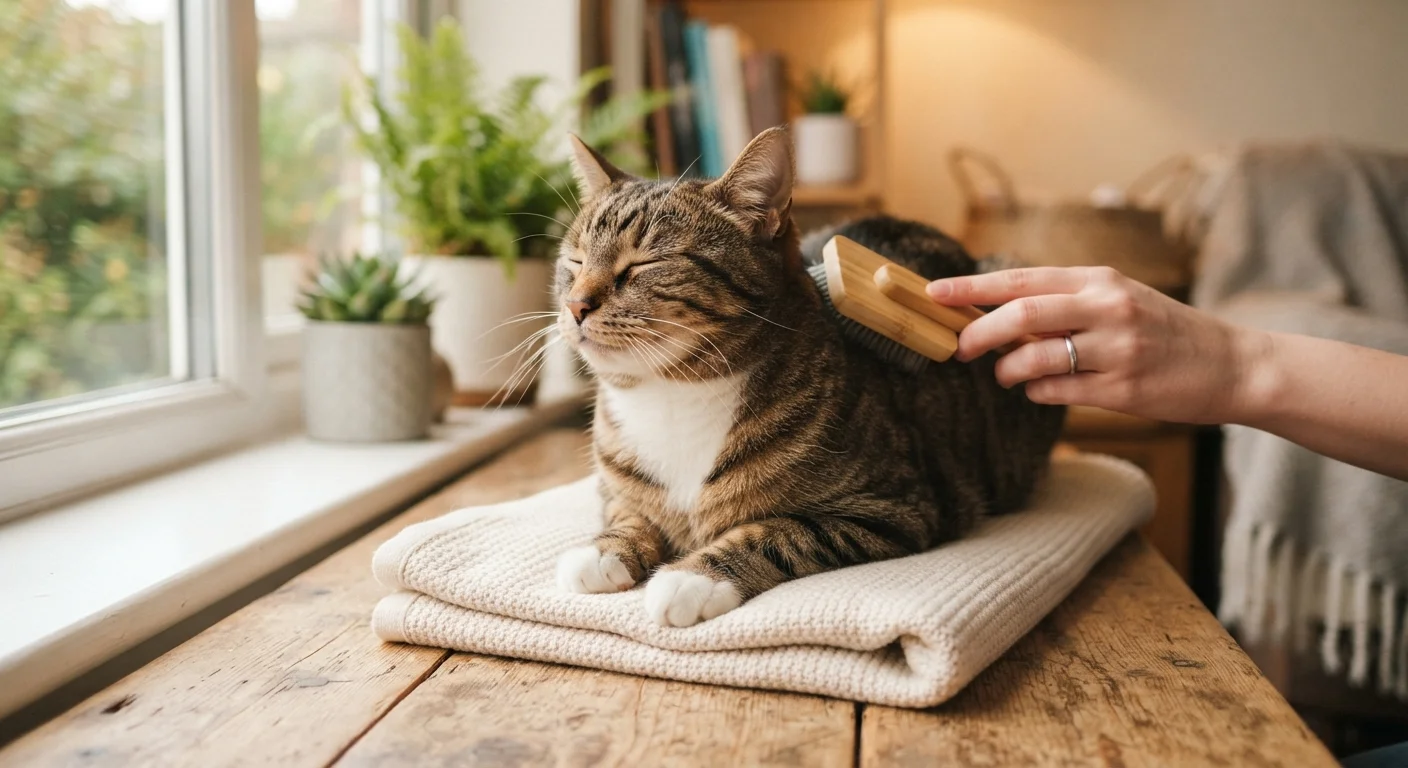
Choose a time when your cat is relaxed - after a meal or a nap is ideal. Pick a quiet room, close the door to limit escape routes, and place a non-slip mat or folded towel on a stable surface at a comfortable height. Spend two or three minutes simply petting your cat before introducing any tools. Let your cat sniff the brush or clippers at their own pace.
Brush the coat
Work in the direction of hair growth using gentle, short strokes. Start at the neck and shoulders - areas most cats tolerate well - then move toward the back, sides, and belly. The belly and base of the tail are often more sensitive; approach those areas slowly and watch for a flicking tail or flattened ears, which signal discomfort.
For short-haired cats, once or twice a week is typically sufficient. Long-haired cats may need daily brushing to prevent mats. If you encounter a mat, work it apart gently with your fingers or a dematting comb rather than pulling or cutting close to skin.
Trim the nails
Gently press one paw pad between your thumb and forefinger to extend a single claw. Locate the pink quick - the blood vessel visible inside the nail. Clip only the clear, curved tip, staying at least 2 mm away from the quick. Release the paw, offer a treat, then move to the next claw. You do not need to do all claws in one sitting; even four or five at a time is progress.
Most indoor cats benefit from a trim every two to four weeks. If you accidentally nick the quick and see minor bleeding, apply a small amount of styptic powder and apply gentle pressure for a few seconds.
Check and clean the ears
Fold the ear flap back gently and look at the outer ear canal. Healthy ears are pale pink, odor-free, and have minimal waxy buildup. If you see dark debris, strong odor, redness, or your cat has been scratching at their ears, skip cleaning and schedule a vet visit - these can be signs of ear mites or infection that need professional assessment.
For routine maintenance when ears look healthy, apply a few drops of vet-recommended ear cleaner to a cotton ball - never directly into the canal - and wipe gently around the visible outer surfaces only.
End on a positive note
Finish every session - even a short one - before your cat shows signs of real stress. Offer a treat immediately after the final task, followed by calm petting or a short play session if your cat is in the mood. Over repeated sessions, your cat will begin to associate the grooming routine with good things rather than something to dread.
Never Force a Frightened Cat
Restraining a cat that is hissing, growling, or attempting to flee dramatically increases the risk of injury to both of you and can permanently damage your cat's trust. End the session, give your cat space, and try again another day with a shorter, easier task.
For cats that remain consistently anxious around grooming, it's worth reading about broader stress management strategies. Building a low-stress environment for anxious cats offers practical ideas that can make your cat's whole day - not just grooming time - feel more manageable.