

Key Takeaways
- Small cracks and gaps in exterior walls let water in, leading to wood rot and structural damage if ignored.
- Proper surface prep - cleaning, sanding, and priming - determines how long exterior paint lasts.
- Exterior-grade caulk should be applied to all seams, joints, and gaps before painting.
- Elastomeric or acrylic-latex exterior paint offers durable moisture resistance for most siding types.
- Inspect exterior walls at least twice a year to catch problems before they require expensive fixes.
What you will need
Why Exterior Wall Maintenance Is Worth the Effort
Your home's exterior walls do more than define its appearance - they form the first line of defense against rain, wind, UV radiation, and temperature swings. When that barrier is compromised, even small gaps or paint failures can allow water to infiltrate behind the siding, where it silently rots framing, fosters mold growth, and damages insulation.
The financial case for staying on top of this maintenance is straightforward. A tube of caulk and a few hours of work to seal a gap costs very little. Replacing a section of rotted wall sheathing or structural framing costs significantly more - often several hundred to several thousand dollars depending on the extent of damage. As part of a broader strategy for maintaining a home on a tight budget, exterior wall upkeep consistently ranks among the highest-return tasks a homeowner can do themselves.
Most wood and fiber-cement siding should be repainted every five to ten years, depending on climate and paint quality. Vinyl siding rarely needs painting but should still be inspected for cracks and loose seams annually. Whatever your siding type, the principles below apply: clean, repair, seal, and protect.
What you will need
What You'll Need Before You Start
Gather all materials before beginning - stopping mid-project to make supply runs disrupts drying times and can leave bare surfaces exposed to weather. The right tools make the work faster, cleaner, and more durable.
Exterior patching compound or wood filler
Fills cracks, holes, and gouges in siding before painting.
Putty knife or taping knife
Applies and smooths patching compound into damaged areas.
Exterior-grade caulk and caulk gun
Seals joints, seams, and gaps around trim, windows, and doors.
Medium and fine-grit sandpaper (80 and 120 grit)
Smooths patched areas and scuffs old paint for better adhesion.
Exterior bonding primer
Promotes paint adhesion over bare wood or patched surfaces.
Acrylic-latex exterior paint
Provides a durable, weather-resistant finish coat on siding.
Quality exterior paintbrush and roller
Applies paint evenly across flat surfaces and into textured areas.
Drop cloths and painter's tape
Protects landscaping, windows, and trim from drips and overspray.
Inspect every wall surface thoroughly
Walk the entire perimeter of your home and look closely at all exterior surfaces. Use a flashlight if needed to spot hairline cracks, bubbling or peeling paint, soft or spongy wood, gaps around window and door trim, and any areas where caulk has shrunk or pulled away. Press gently on wood siding - if it gives easily, rot may have begun beneath the surface.
Mark damaged areas with painter's tape so you don't overlook them during repairs.
Clean the exterior walls
Dirt, mildew, and chalky old paint prevent new coatings from bonding properly. Wash all wall surfaces with a garden hose fitted with a spray nozzle, or use a pressure washer set to a low-to-medium setting (generally under 1,500 PSI for wood siding). For mildew stains, apply a mixture of one part household bleach to three parts water, let it sit for 10 minutes, then rinse thoroughly.
Allow walls to dry completely - typically 24-48 hours - before proceeding.
Remove deteriorated paint and loose material
Use a paint scraper or wire brush to remove all peeling, bubbling, or flaking paint. Feather the edges of any remaining paint with 80-grit sandpaper so patched areas won't show a sharp ridge under the new finish. If you find soft, rotted wood, you'll need to either replace the affected boards or use a two-part epoxy wood consolidant and filler - a process suited to smaller damage zones. For larger structural rot, consult a licensed contractor before proceeding.
Patch cracks, holes, and damaged areas
Apply an exterior-grade patching compound or wood filler to all cracks, nail holes, and gouges using a putty knife. Press the material firmly into the void, overfill slightly, and smooth flush with the surface. For gaps wider than about ¼ inch, consider using a backer rod (a foam cord available at hardware stores) to fill the void before applying compound on top.
Let the patch cure fully per the manufacturer's instructions - rushing this step leads to shrinkage cracks in the finish.
Caulk all seams, joints, and gaps
Apply a continuous bead of exterior-grade, paintable acrylic caulk along every joint where two materials meet: around window and door trim, at corners where siding panels butt together, and along any flashing edges. Hold the caulk gun at a 45-degree angle and maintain steady pressure. Smooth the bead with a wet finger or caulking tool within a few minutes before it skins over.
For a deeper look at choosing between caulk and other sealing methods, see our guide to caulk vs. weatherstripping.
Sand smooth and apply primer
Once patches and caulk have fully cured, sand patched areas with 120-grit sandpaper until flush and smooth. Wipe away dust with a damp cloth. Apply an exterior bonding primer to all bare wood, patched areas, and any spots where you scraped down to raw surface. Primer is not optional - it seals porous surfaces, blocks stains, and dramatically extends the life of your topcoat.
Apply exterior paint in two coats
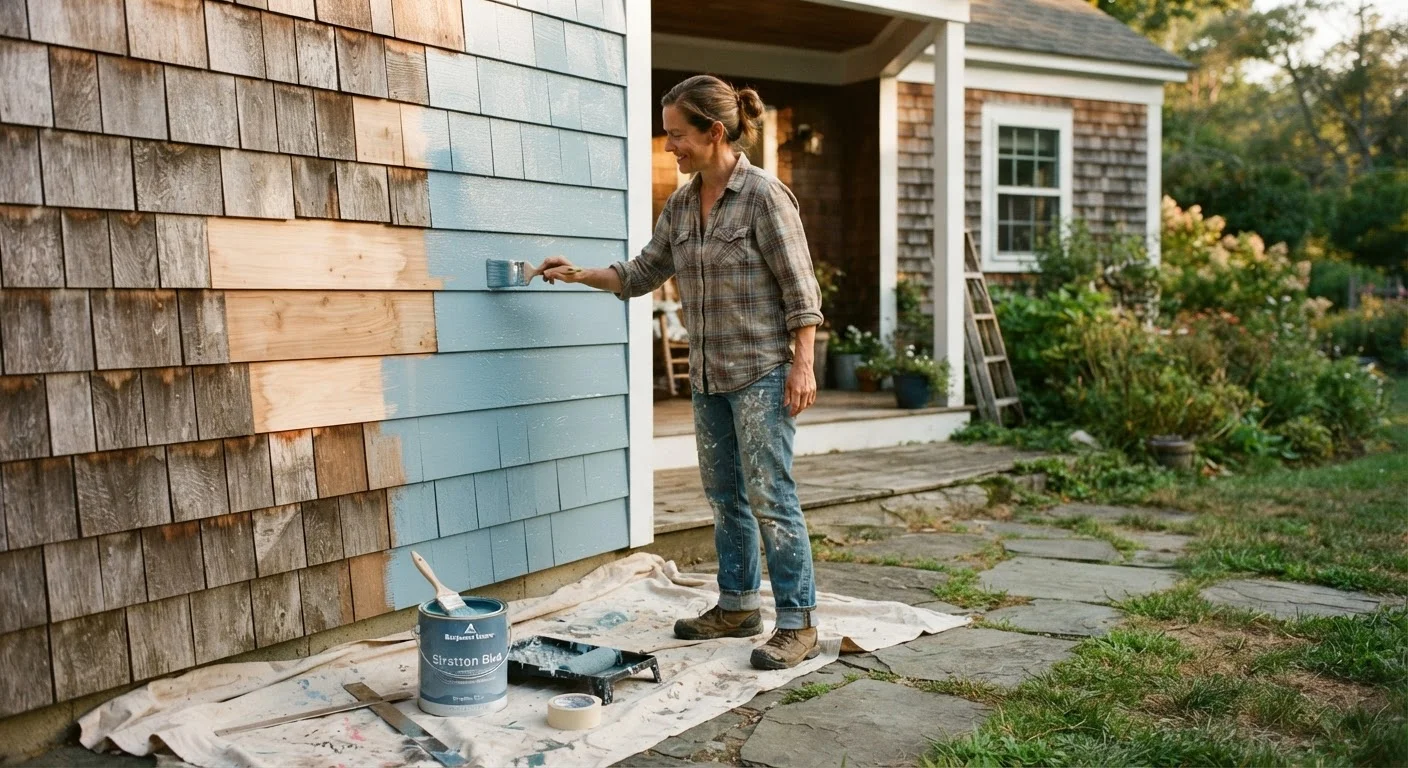
Use a quality acrylic-latex exterior paint for most siding types. Apply the first coat using a brush to cut in around trim, corners, and detail areas, then use a roller for flat field sections. Work top to bottom so drips fall onto unpainted surface. Allow the first coat to dry fully - check the paint can for recommended recoat time - then apply a second coat for full coverage and durability.
For more insight into why paint jobs fail and how to avoid common mistakes, see why DIY paint jobs go wrong.
Timing Your Project Right
Plan exterior painting projects for mild, dry weather - ideally spring or early fall. Temperatures between 50°F and 85°F with low humidity allow paint to cure properly. Avoid painting over damp surfaces or when rain is forecast within 24 hours, as moisture trapped under the film will cause blistering and early peeling.
Keeping Problems From Coming Back
Once you've completed the repairs and fresh paint has fully cured (allow at least a week before heavy rain exposure), the goal is to extend that protection as long as possible. A few simple habits will help:
- Inspect twice a year - spring and fall are ideal. Early spring catches damage from winter freeze-thaw cycles; fall inspection lets you address issues before cold weather sets in. For a full pre-winter checklist, see weatherproofing your home before winter.
- Keep vegetation away from siding. Shrubs, vines, and tree branches that contact exterior walls trap moisture and accelerate paint failure and wood rot. Maintain at least a 6-inch clearance.
- Check gutters and downspouts. Clogged gutters overflow and send water sheeting down the siding - one of the most common causes of accelerated exterior deterioration. Clean them at least twice a year.
- Address moisture sources indoors, too. Humidity that builds up inside your home can push through walls and degrade paint from the inside out. Proper home ventilation is an often-overlooked part of protecting your exterior.
For a broader look at tackling exterior and home improvement projects yourself, visit our DIY Projects hub for step-by-step guidance across a range of tasks. And if you've run into issues with previous patch or paint projects, common DIY repair mistakes are worth reviewing before you start.
Know When to Call a Professional
Some exterior wall problems go beyond what DIY patching can safely address. If you find widespread rot affecting multiple boards or structural framing, significant water intrusion behind the sheathing, or damage around load-bearing areas, stop work and contact a licensed contractor. Attempting to patch over serious structural damage can mask the problem while it worsens - a much costlier outcome than addressing it directly.