

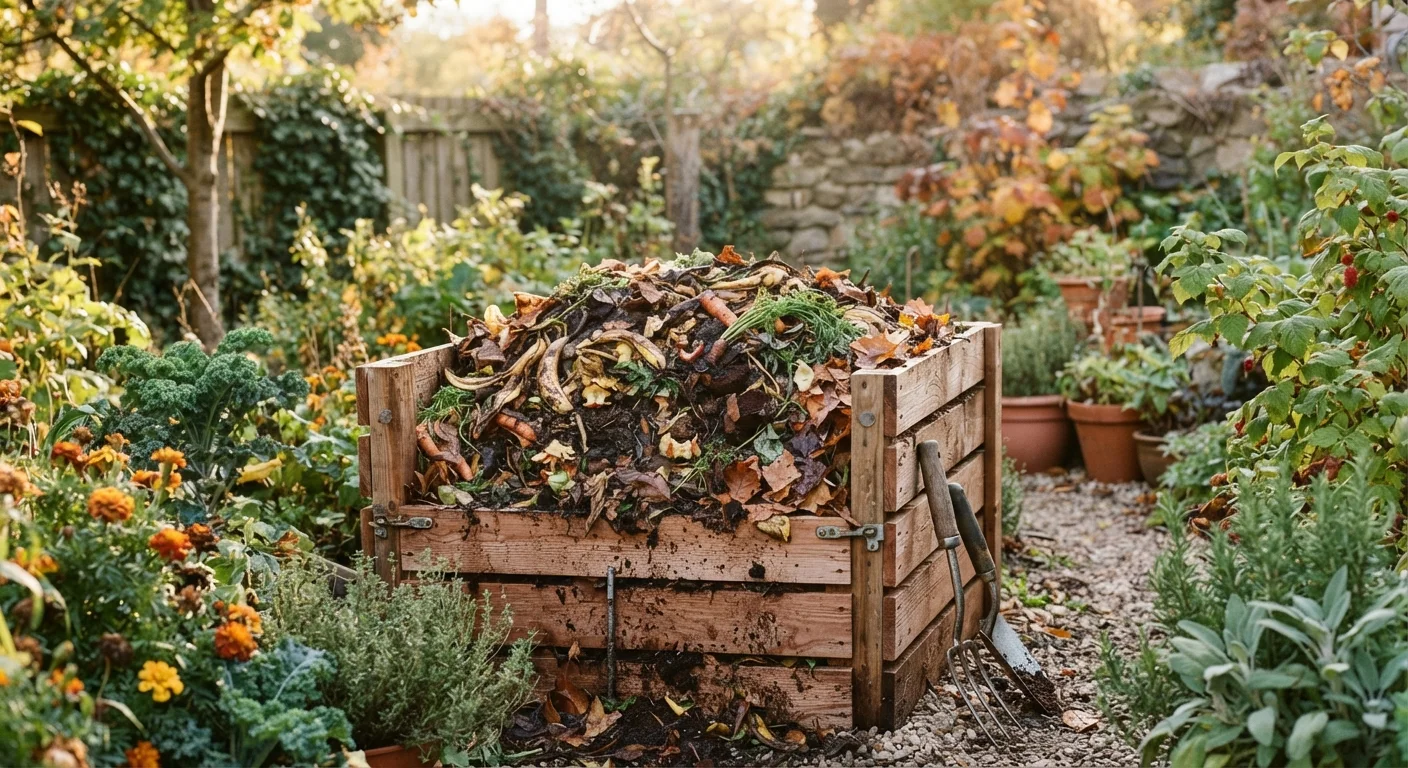
Key Takeaways
- Compost is made by layering "greens" (nitrogen-rich) and "browns" (carbon-rich) materials in roughly equal amounts.
- A well-maintained pile needs moisture, airflow, and occasional turning to break down efficiently.
- Finished compost can be ready in as little as two to three months under ideal conditions.
- Composting reduces household waste while building healthier, more productive garden soil for free.
- Certain materials - including meat, dairy, and diseased plants - should always be kept out of a home compost pile.
What you will need
Why Composting Is Worth the Small Effort
Composting turns material most households throw away - vegetable trimmings, coffee grounds, eggshells, cardboard - into a soil amendment that improves drainage, feeds plants slowly, and encourages the earthworm activity that healthy soil depends on. Unlike store-bought fertilizers, finished compost releases nutrients gradually and also improves soil structure over time, rather than just delivering a temporary chemical boost. For a comparison of how compost stacks up against synthetic options, see our guide to organic vs. synthetic fertilizers.
The cost is effectively zero once you have a bin or a corner of the yard designated for a pile. If you're building out a new vegetable or herb garden, finished compost is one of the most valuable things you can add to your soil. Our beginner's guide to starting a vegetable garden covers how to incorporate compost into a new bed from day one. If you're weighing whether composting fits your routine before committing, an honest look at the effort vs. benefits can help you decide.
Speed Things Up with a Small Countertop Bin
Keep a lidded container on your kitchen counter or under the sink to collect vegetable peels, coffee grounds, and eggshells throughout the day. Emptying it into your outdoor pile every day or two keeps scraps from sitting in the kitchen and makes the habit much easier to maintain.
What You'll Need Before You Start
Composting doesn't require much - the list of tools is short, and most households already have what they need. Before you build your first pile, gather your materials and pick your spot.
What you will need
Compost bin or designated pile area
Contains and organizes decomposing material; a bin retains moisture and heat better than an open pile.
Pitchfork or compost-turning tool
Used to aerate and turn the pile, which speeds up decomposition by introducing oxygen.
Garden hose or watering can
Adds moisture when the pile dries out, keeping microbial activity going.
Countertop kitchen scrap collector
Holds daily food scraps conveniently until you transfer them to the outdoor bin.
Compost thermometer
Measures internal pile temperature to confirm active decomposition (ideally 130-160°F).
Step-by-Step: Building and Maintaining Your Compost Pile
Follow these steps in order to get your compost system started correctly. The first build takes 20-45 minutes; maintaining the pile afterward is a matter of minutes every week or two.
Never Compost These Materials
Keep meat, fish, bones, dairy products, oily foods, pet waste, and diseased or pest-infested plants out of your compost pile. These materials attract pests, create odors, and can introduce pathogens or weed seeds that survive decomposition and later harm your garden.
Choose and set up your composting method
Decide between an open pile, a DIY wooden bin, or a purchased enclosed bin. Enclosed bins are better for small yards because they contain odors and deter pests. Place your bin or pile on bare soil - not concrete - so beneficial organisms like worms and microbes can migrate up into the material. Choose a spot with partial shade to help retain moisture.
Gather your greens and browns
Greens are nitrogen-rich materials: vegetable and fruit scraps, coffee grounds and filters, fresh grass clippings, and plant trimmings. Browns are carbon-rich: dry leaves, cardboard torn into small pieces, newspaper, straw, and paper bags. A healthy pile needs roughly equal volumes of each - though leaning slightly heavier on browns helps control moisture and odor.
Build your first layers
Start with a 3-4 inch base layer of coarse browns (small twigs or wood chips work well) to allow airflow at the bottom. Add a layer of greens, then alternate with browns, keeping layers roughly 2-4 inches deep. Lightly moisten each layer as you go. This alternating structure gives microbes the balance of carbon and nitrogen they need to thrive.
Maintain moisture and airflow
Check your pile every week or two. It should feel damp like a wrung-out sponge throughout. If it smells bad or looks slimy, add more browns and turn it. If it looks dry and crumbly with no heat, add water and some fresh greens. Turning the pile with a pitchfork every two to four weeks reintroduces oxygen and dramatically speeds up decomposition.
Monitor progress and troubleshoot
An active pile will feel warm - sometimes hot - in the center. This heat signals that microbes are working. If the pile never heats up, it likely lacks nitrogen (add more greens) or moisture. If it smells like ammonia, there is too much nitrogen - add browns and turn it. Patience matters: decomposition slows in cold weather and speeds up in summer heat.
Harvest and use your finished compost
Finished compost looks dark and crumbly, smells earthy like forest soil, and shows no recognizable original materials. This typically takes two to six months depending on conditions. Stop adding fresh material to one section of your bin and let it finish. Screen out any large unfinished pieces and return them to an active pile. Work finished compost into garden beds, use it as mulch around plants, or mix it into potting soil.
Putting Your Compost to Work in the Garden
Once you have a steady supply of finished compost, the uses are broad. Mix a 2-3 inch layer into new planting beds before seeding or transplanting. Use it as a top-dress mulch around established perennials, shrubs, and vegetable plants. Blend a portion into potting mixes for containers. If you're building a raised bed, compost can make up a significant share of your fill mix - our article on raised beds vs. in-ground garden plots covers the soil considerations for each approach.
Compost also supports healthier herb growing. If you maintain a kitchen herb garden, working a thin layer of finished compost into the surface annually helps sustain steady growth - more practical habits are covered in our guide to keeping a productive kitchen herb garden. If you want to understand what your soil actually needs before amending, consider pairing composting with periodic soil testing - see what soil test numbers actually mean for a plain-language breakdown.